Monday, August 1, 2011

Can You Believe This Was a Freebie?

Yay yay yay! I'm finally ready to share the redo of my free curbside dresser! I'm completely happy with how it turned out. And it's going to be a permanent fixture in the Lovely Beasts household. Only the second piece of furniture that I have kept since my very first redo that started this blog!

What did it look like before again? You're probably tired of these pictures but here it was in its dirty-peeling-veneer glory.

I wasn't able to salvage the bottom 2 drawers because of the extensive damage not only to the veneer but the wood underneath it. So I removed them completely and painted the inside with Behr Semi-gloss Creamy White. I used a putty knife and hammer to scrape the veneer off the top of the dresser and the first 2 drawers, and followed it with some sanding using an electric sander.

There were a some pockets in the wood and a slash on the right leg so I filled them in with Minwax Wood Putty.

I mentioned in this post how I spray painted 2 of the original pulls and 2 additional pulls I picked up from an antique fair.

And after 3 coats of Creamy White over the entire dresser with sanding in between, I have my Lovely Beast. Get ready for the pictures ladies and gentlemen.
Love the Beasts,
Emily

Linking to:
PhotobucketDomestically SpeakingDIY Club

Sunday, July 31, 2011

Monocles, Velocipedes, and Etsy Gift Tags

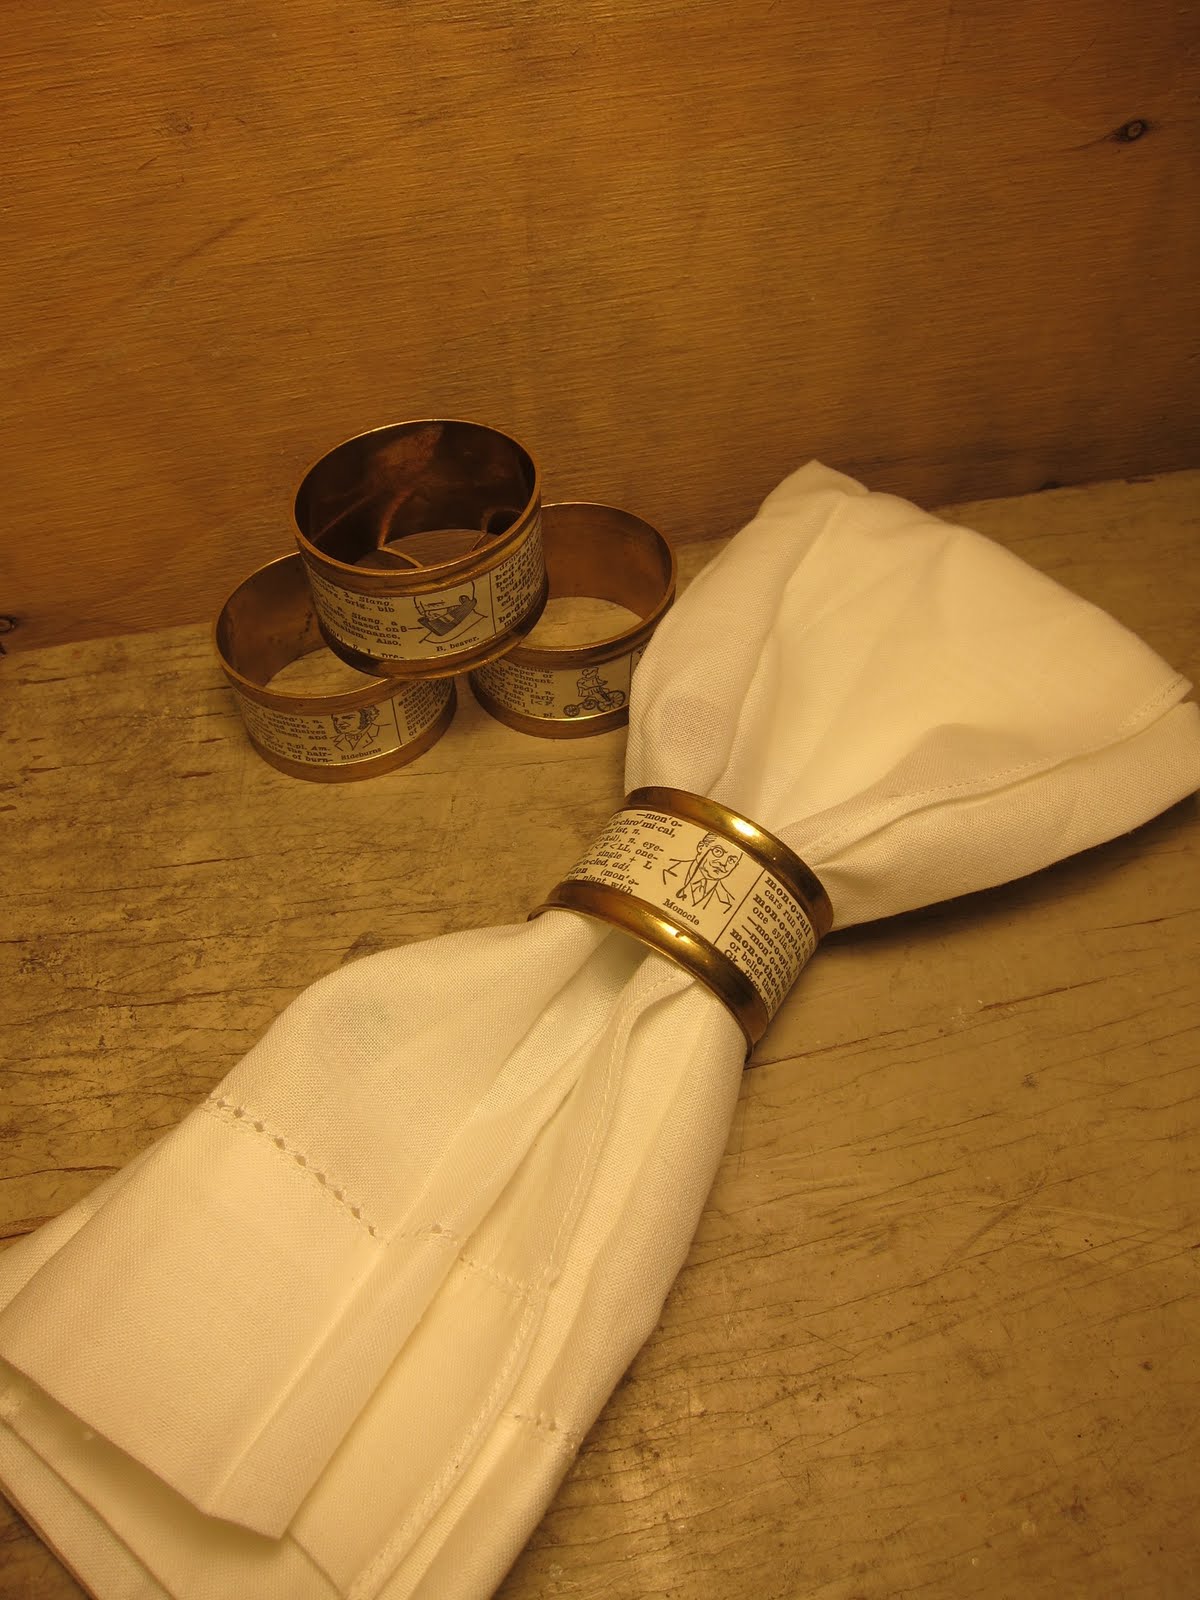
Here's another fun item I finished for my soon-to-be-open Etsy shop. They're dictionary brass napkin rings!


The pages were taken from a 1960's Thorndike Barnhart Dictionary which have the most awesome vintage illustrations. For the 4 brass rings, I chose the words "beaver," "monocle," "sideburns," and "velocipede."
 

I love how they turned out! And here are a few gift tag creations I've been working on for Etsy. I'm planning to give a few away with each purchase from the Lovely Beasts Shop. 

I had too many business cards that I knew I would never use, so I re-purposed them. I used the same dictionary pages and ran them through the printer, glued them to the cards, and came up with this!

I really enjoy working on all of these projects and I probably have too many things going on at once, but I can't help it. There's no stopping this train. MUST KEEP CREATING!

Linking to:
The DIY Show OffPhotobucket

Saturday, July 30, 2011

Getting Bronzed

I've just finished the final step for the redo on my freebie dresser and I can't wait to show it to you all. It's all waxed up and waiting for me to take pictures. But of course I don't have my brother's camera this weekend and my crappy camera won't do the dresser justice, so you'll have to wait until Sunday or Monday to see the final look. In the meantime, here's what I did with the hardware for the dresser. This is what the dresser and pulls looked like before.

I was only able to save the top 2 drawers to the dresser and needed 4 pulls. Being that it was a freebie, it only came with 4 pulls. You'd think that was perfect right? Well, no. 3 of the pulls were the same size and the other one was a smaller version. Booooo! Thankfully for my junking and hoarding habits, I happened to pick up 2 matching circular pulls at the Round Top Antique Fair and they fit perfectly and went beautifully with the original hardware! You can see them in the ladle below.

The only small issue was that the colors were off. Easy fix! I sprayed them with Rustoleum Oil Rubbed Bronze Spray Paint (the kind that's a paint and primer in one) and now they were perfect! Beware! Here come the crappy camera pictures.


Yippee! They go so great together. Hopefully I have access to the camera tomorrow to finally FINALLY show you my new old dresser. Yes, a piece of furniture that's finally a keeper!