Friday, June 1, 2012

Bye Bye Dog Pee, Hello New Carpet

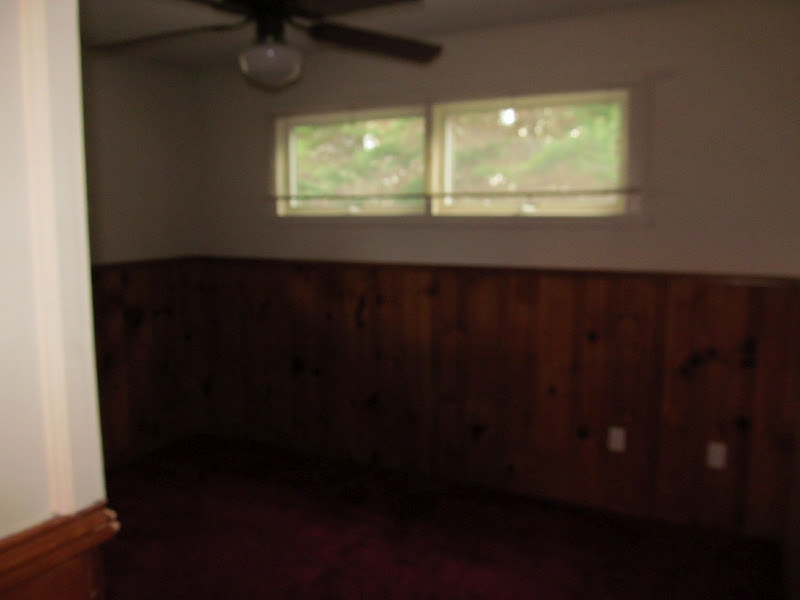
The guest room in our new house started out like this.

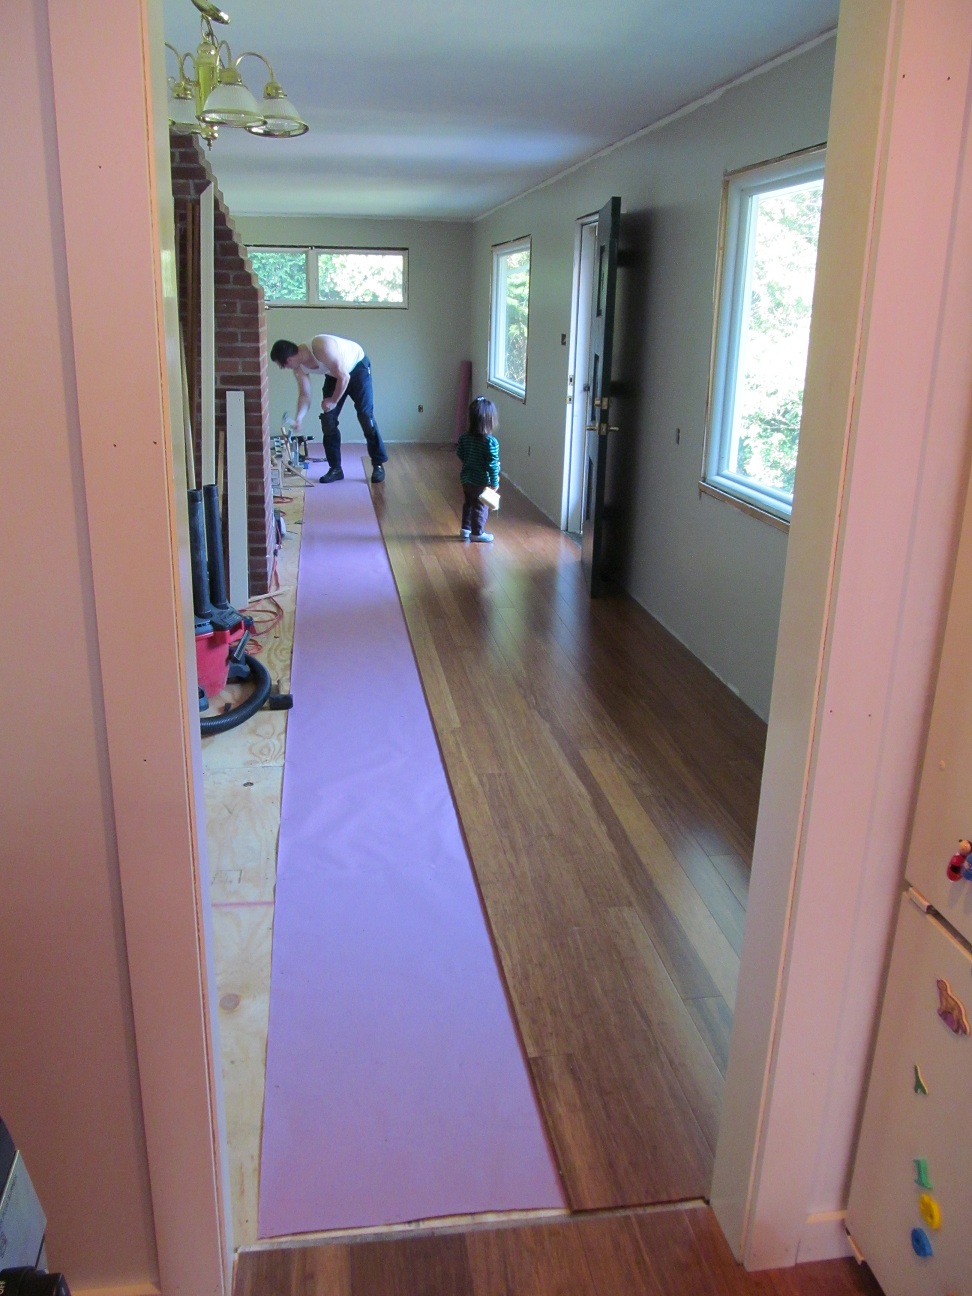
It's a dark and blurry picture, but that pretty much describes the room. Dirty dark burgundy carpet and walls covered halfway with dirty paneled wood. Annie's room is much bigger, brighter, and is part of the new addition to the house, but had the same dirty carpet and a slightly mildewy smell to go along with it. The worst part of the carpet was in the hallway leading to the bedrooms from the living room. It was beige and had a HUGE dark stain. You can see it on the floor at the very left in this picture.

We had hoped we could clean the stain, but it was not meant to be. 3 different types of carpet cleaners later and the stain was lighter, but still visible. We thought we could live with looking at the stain, but things got worse. By cleaning the area, the carpet became damp and began to smell. Not just a mildewy smell, but a urine smell. Hidden odors in the carpet and foam underneath were released and we realized there was no way we were going to be able to ignore it. We had heard from our neighbor that the previous owner had 2 dobermans and we think the dogs used this as their main pee place (who knows why they couldn't use the 1 acre land surrounding the property). We knew steam cleaning the carpet wouldn't permanently fix the issue, so we decided 2 weeks ago to replace the carpet in the hall, Annie's room, and guest room. We would have liked to put in the bamboo hardwood in those rooms too, but with the new baby coming in a month we just wouldn't have had enough time. Of course now with the carpet purchase we hit the max of our renovation budget. No more big renovations or improvements for at least another year!

We did however save money by removing the carpet by ourselves...and by ourselves I mean my husband, his father, and little brother. At 36 weeks pregnant I can hardly bend over without experiencing a Braxton Hicks contraction. Thank goodness we pulled up the carpet ahead of time though. The huge pee stain went all the way through the carpet, foam, and into the plywood underneath. It smelled and looked horrible, and we knew if we didn't remove the wood it wouldn't be long before the new carpet began to smell and stain as well. There were 3 other small areas in the plywood in Annie's room that had this same issue, so the guys had to cut out the ruined sections of plywood and nail in new boards. A little more money and time spent on things we didn't know were going to be issues, but we expected these types of things to pop up before we bought the house. It sucks to deal with, but it's better to fix it now then spend more money, trouble, and frustration fixing it later.

Here's what the guest room looks like without carpet. Yet another kind of vinyl flooring in the house! Yay!

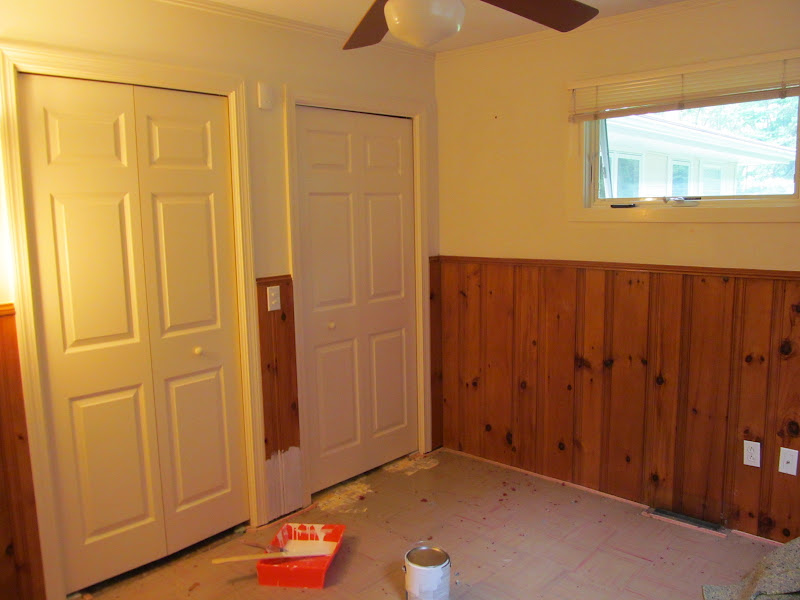
Of course to give ourselves even more work, we decided to go ahead and paint the wood paneling and walls in the room before the new carpet was installed. We were going to do this maybe 6 months to a year down the line, but we knew it would be a lot easier to do if we didn't have to worry about getting the carpet dirty. 

The guest room is one of the original rooms in the house. Our home started out as a small 2 bedroom beach house. You can tell how old it is by looking closely at the paneling. Portions of the it were covered in this crap.

What is that you ask? I have no idea. The crap took a lot of sanding to get off. My husband thinks it's the remainder of an old messy stain/varnish job. I just can't believe the previous owners never addressed the nastiness on these walls. In one hallway in the house where there's still floor to ceiling wood paneling, they painted right over the stuff. L A Z Y!!! Brendan and his brother sanded the stuff down and then Brendan filled the wide spaces between the wood panels with all-purpose white caulk. 

After cleaning/wiping down the walls and paneling, we started priming. The room looked so much lighter and brighter!

After 2 coats of primer on the paneling, we realized we would run out of time painting it all before the carpet was scheduled to be installed. So we only painted the bottom 6 inches of paneling with 2 coats of white paint before the carpet was installed yesterday morning.

Although we clearly have a lot more painting to do, the room looks so much better. I think we've brought it back to this decade and best of all, there's no more urine smell wafting into the room. Hooray!

Once painting is completed and furniture has been moved back into the room, I'll post pictures. And it you're wondering, we plan on painting the walls an oops color I got from Home Depot. It's a deep chalky blue. Maybe a bit dark for a small room like this, but much more interesting then the other paint colors we chose for our bedrooms!

Love the Beasts,
Emily


Thursday, May 24, 2012

Retro Chair for Spring with Painted Accents

I finally FINALLY finished this chair from September 2011. Before she was dull, lifeless, and contained way too much plastic (the fabric was icky vinyl).

NOW she makes a statement!

I bought the chair as a Christmas gift for my sister-in-law Jenny, but the holiday quickly passed and the chair was only halfway done. It then became her birthday gift which we just celebrated this past weekend. The fabric was purchased up in Maine from one of my favorite stores, Marden's. I think the retro poppy upholstery fabric was $2.99 a yard. CHEEEEAP! Because Jenny likes bright colors in her home, I chose to paint the wood with Krylon Spray Paint in Emerald Green. The green didn't match any of the colors in the fabric, but it provided a nice contrast to the yellow and poppy red and helped me achieve the "LOOK AT ME I'M INTERESTING AND UNIQUE" look.

We've been in CT for 6 months now but I didn't actually get the chair down from Maine until last Friday. I had finished painting and re-upholstering the seat and front before I left, but I couldn't finish the back until the ply-grip/curve ease I bought online arrived. About a week later, it came and after a couple hours here and there nailing on the ply-grip, putting in some hammered upholstery nails, and stapling muslin to the bottom, it was done! By the way, I can't figure out how you guys staple ply-grip. The staples never seem to go through the metal for me. It could be because I'm using a electric instead of a pneumatic stapler. And if you're wondering, I didn't have any of the black cambric cloth for the bottom of the chair, so instead I used some old muslin my mom gave me. It looks great although when I say old, I MEAN old. I think we've had it since the 80's.

Here's the chair in its "DONE, BUT SOMETHING'S MISSING" phase.

This is when I decided to take a page from a few other blogger's books and highlight portions of the fabric with paint. I bought some green acrylic paint and highlighted random poppy flower stems. 

Now the fabric and paint color can live in harmony.
'
In her past life she was a bore.

Now she's quirky and fun!

You may think the colors aren't "typical" for me, but they're still my style all the same. I promise you this won't be the only piece of furniture that I ever work on that has bright and outlandish colors. 

Happy Birthday to Jenny! I'm so glad you like the chair and you're not afraid to display it in your home :).

Love the Beasts,
Emily 

Monday, May 21, 2012

My Latest Free Finds for the New House

I've had pretty good luck with curbside finds these last few months. We needed a kitchen table and I bought a really awesome handcrafted table for $20 at an estate sale, but then I found this pine table with two matching chairs for free sitting outside the same house a week later. This one is a better fit for our oddly-shaped dinette area. The other table, which I will post about another day, is going to be either my husband's or my "office" desk.

Being about 33 wks pregnant at the time, I didn't think I could do anything with the table until well after the baby arrived. But the feeling of uselessness with home renovations struck and I stuck on my ventilator and went to work sanding and staining the table top. I sanded more than half the table before remembering to take a picture. My new palm sander was a birthday present from my husband this year. Oh how well he knows me!

Here's a closer shot of the stain that was previously on the table. It was already wearing off in a few areas and there were a few dark marks from whatever they had previously set on top.

The sander works wonders! Here it is all sanded down.

Brendan and I despise light stains and we wanted the table to look like a workshop table, a bit weathered with different variations in wood color. We knew this would work with the pine surface because you can never depend on the stain to come out even, especially when the table is not made of great quality wood in the first place. After 3 coats of Minwax Dark Walnut Stain and 3 coats of Minwax Wipe-On Poly (with sanding in between), the table was perfect!

Unfortunately, the table is still sitting outside because there's no room for it in the house. But it should be moved in by this Wednesday. In the background you can see a few of my other free finds. A pallet and 3 wood chairs.

I was so happy to find the free chairs especially because the weekend before I found out I missed out on buying 3 similar chairs for $1 each. They reeked of cigarette smoke though and there was nicotine crusted on to the backs of the chairs. I've sanded them down as much as I can and scrubbed them down with vinegar 3 times now. They sat in the sun yesterday and they're MUCH MUCH better. They smell a bit more like wood now. 

Here's a disgusting picture of what it looks like after I sanded a small part of one of the chairs. See that? Not just dust from wood or stain, it's cigarette ash. BLECH!

The 3 chairs will go with the farmhouse dining table I bought a few months ago along with 3 other wooden chairs of a different style that I found at a garage sale for $10 each. All the chairs are getting painted different colors. Priming these stinky chairs with 2 layers should keep them from stinking of cigarettes.

So yes, I've successfully found free finds that I ACTUALLY needed! Not just junk! Eventually I'll post about the furniture I did spend money on for the new house, but that won't happen until renovations are done. One day...

Love the Beasts,
Emily

Thursday, May 10, 2012

Vintage Wallpaper Step Stool

Remember this vintage wallpaper I got for free?

Well I used it again! This time I cut out the farm scenes for Annie's little step stool. I bought the stool on half-off furniture day at Goodwill for $4, but didn't love the floral paper used on top (sorry no before picture). I didn't particularly love the color of the stool either, but when I looked for new paper to cover the stool it struck me that it went with the green in the wallpaper perfectly. I used Mod Podge to glue the paper on and sealed it with the same stuff after it dried. Although the wallpaper is old, it still has a little glue on the back which helped it adhere more easily to the steps. And because Annie typically uses the stool in her bathroom, I sealed it again with Minwax wipe-on poly which should prevent the paper from getting wet and coming off.


Much better! And yes, Annie loved it!

Love the Beasts,
Emily

Monday, May 7, 2012

Thrift Find:New Chandelier!

In my last post I told you all to ignore our hideous 90's brass chandelier. I hate to even re-post a picture of it because it's so ugly. Unfortunately, I can't properly show you the transformation without it.

We bought a fun industrial looking pendant to replace it, but I later realized the pendant wouldn't provide enough light. I also felt guilty spending more than $100 on it because of our tight budget. I told myself the existing chandelier could be better if I painted it black and possibly painted over the glass shades as well. Of course, I hoped I'd eventually stumble upon the perfect chandelier for the right price at an estate/yard sale, thrift store, or on discount at the hardware store.

Well, this past Friday my little home improvement wish came true! I found a brand new chandelier still in the box for $39.99 at Goodwill. I didn't know it was new at the time because the box was taped up, but the store said they'd take it back for store credit the next day if it didn't work or had missing pieces. At the cash register, I asked them if they'd be willing to give me an additional discount and they ended up selling it to me for $25! Not the best deal I have ever received, but when you look at the prices for new chandeliers out there it's pretty amazing! Especially because this one is being sold for $180 online. When I opened the box at home I was pleasantly surprised to find all the pieces there and wrapped up in their original packaging. Even the chandelier lamp shades were still covered in plastic.

We hung our new light up that night in about 2 hours. It feels good to complete a quick project like this when all of our other projects seem to take weeks at a time.


Do you like it?! Now this was not the original chandelier-style I was going for, but it makes much more sense in our home. Once we finally finish the molding and move the farmhouse-style kichen/dining table I bought into the room, it will really tie everything together. And although you can't see how the entire room looks with the new light, you can admire our new pretty molding in the background.

Oh how I love thrift stores and cheap finds!

Love the Beasts,
Emily

Thursday, May 3, 2012

Living and Dining Room Update

The walls and floors are done! Now we're on to the molding which is a whole new adventure. Tonight Brendan was drilling holes in the molding and drilled right into the new bamboo floor. Oh boy! Guess we'll have to invest in some wood putty.

Here are pics of what the living and dining rooms looked like when we moved in. It's really one big room that is partially separated by our brick fireplace. Ignore the brass grate, it will eventually get painted black.

We actually liked the built-in corner closet (it had no shelves so I can't call it a hutch), but when the wood paneling came down, the closet had to come down with it.

Next, my husband and Poppa tore down the wood paneling, added insulation in the walls, and removed the carpet and laminate.

Underneath the "beautiful" carpet was some beige and brown checkered laminate. We made sure to send in a test sample for asbestos and thankfully it came back negative. I guess they say it's fine to lay the hardwood over the asbestos as long as you don't try to tear it up and expose the asbestos to the air, but I prefer to have my family stay away from the stuff.

We hired a local contractor to sheetrock the walls. Basically we heard the same story from everyone regarding putting up sheetrock. It's costs the same to do it yourself as it does to hire someone (if you don't do it for a living or have the proper tools/equipment). So I ask you, why the heck would you do it yourself?!?

Once the walls were up we painted them a grayish-green called Clivenden Gray Morning in semi-gloss from Valspar. Then they started laying down the bamboo flooring again. In the second picture, Annie's helping her Dad brush off all the sawdust. Such a good helper!

And then the day came when Annie and I could walk in the rooms again. Ahh, so nice on the feet.

Sorry that all the pictures were taken at different angles. I couldn't always get to the same spots with all the tools and junk all over the place! And please ignore the hideous brass chandelier in the dining room. We bought a pendant light from Lowes to replace it, but I'm thinking of returning it. I'm not sure it will provide enough light and the living room doesn't have any overhead lighting at all. I will probably spray paint the thing until I find the perfect replacement for the right price. As of now, our priority is to stay on budget and we're right about to cross the line. 

Sigh, I really hope all of the molding is up in 2 weeks. I still need to prepare the house for the new baby and I've warned Brendan I will likely flip out by June 1st if I haven't properly nested yet. I'll bet you can guess how excited and happy that makes him! :)

Love the Beasts,
Emily

Wednesday, April 25, 2012

Framed Vintage Wallpaper and a Pretty Little Chair

I went to an estate sale on Saturday and found this amazing roll of vintage wallpaper. The first few feet of the paper was crumbling apart, but the rest was in perfect condition.

And did I mention it was free? I talked to the woman running the sale for awhile when I first walked in, and when I came back later to ask her the cost of the paper, she said to consider it as a gift :).

I love the farm scenes, the huge red flowers, and the pretty little blue birds! The colors match the paint colors in our new house perfectly. The first thing I decided to do with the paper was frame it. I just unpacked the blue-grey thrift store frame I painted almost a year ago and knew they were meant to be together. The frame didn't have a back, so I cut out a piece of cardboard to fit it from one of the hundreds of boxes that are still sitting unpacked in our house. I used modge podge to glue the paper on to the cardboard.

And yes, I have purchased a few pieces of furniture for the house already. Some new and some old. Here's a little chair I found for Annie at the Recycled Furniture in Old Saybrook for $10. They have some awesome deals there. I plan to recover the chair with a fun fabric soon.

Love the Beasts,
Emily