
Whew! She's all done. I was going for the dry brush look, but ended up with another grey glazed piece. Oh whelps! The dictionary pages on the top and the twine knob make it more ME.


Looks decent in the pictures, but in person it was a mess. I think because of the boxiness, the dry brush look just made it look like I was a lazy painter. I added 2 coats of Sherwin Williams Grey Screen on top of the paint I mentioned in this post to prove I wasn't a slacker. Next, I brushed on Minwax Dark Walnut stain. Apparently I have a new method because every time I add stain, I think I've gone too far and I dry brush over it to get the perfect glazed look. You may remember I did the same thing with my cottage headboard. I guess it's what works for me!

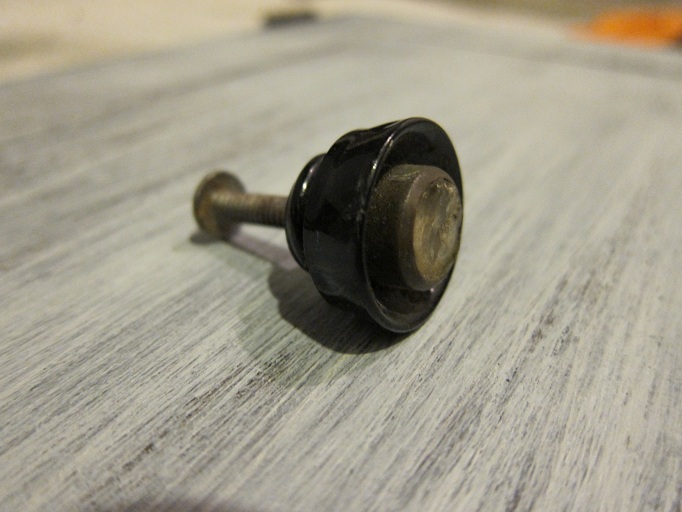
Much better! And sorry to disappoint, but I re-did the burlap knob you all loved. It just didn't look right with this cabinet. I considered buying a new knob, but reminded myself that one of my main goals for refurbishing furniture was to reuse and make do with the supplies that I had on hand. I tore off all the burlap and removed the dried up hot glue from the knob using denatured alcohol. I was back to this.
I went through several possibilities to redo the knob to match the cabinet: Use a glass wine cork (but that required cutting or drilling glass), glue on a glass stone (but the stone was too small and looked odd), wrap it in twine...that's it! I just used some twine recently to wrap this wire bottle carrier. I tied a knot in a piece of twine and hot glued it to the center of the knob. Then I slowly wrapped the twine around and around using hot glue as I went. Perfect!


Apologies for the craptastic photos. I didn't have time to take pictures during the day and I wanted to post the reveal tonight. So if you can deal with it, here are more crappy pictures of my favorite pages/words/pictures on the cabinet.


Hee hee! The goatee man never fails to make me laugh. After another layer of mod podge on top, I used a rag to apply some wipe-on poly (waiting about 4 hours in between). I also rubbed clear Briwax on the rest of the cabinet. Annnnnd...DONE!


A happy way to end the week. Can't wait to link up! See you all there!
Loving,
Emily
Linking up at:


This is so sweet! I love that you are re-using what you already have on hand. The knob turned out great!
ReplyDeleteGreat job it looks so wonderful!
ReplyDeleteHow very adorable! I love what you did with the knob, looks really good with the cabinet.
ReplyDeleteLove it! Your vignette with this sweet cart is so pretty too--I'm really liking your knob idea.
ReplyDeleteIt looks great! I love the charming vintage pages on top and the twine covered knob is just right! Such a cute piece!
ReplyDeleteThis looks great! I wonder if the dry brush would have looked good in the right room with other pieces like it. I love the primitive look and that probably would have looked good in the right decor. You did a great job with the knob. What a neat idea using twine and the dictionary pages! Thanks for sharing. I am your newest follower. Hope you can visit me sometime soon.
ReplyDeleteGreat piece. I've been thinking of using dictionary pages on a few suitcases I have and I think I might just try it soon.
ReplyDeleteLove your cute little cabinet! I'm glad to see someone else has a little trouble with dry-brushing. I've hated all my attempts! ;-)
ReplyDeleteThis is a wonderful transformation, made more wonderful by the 'you' touches: the top and the twine knob. I need to find a place to put a twine knob or two in my house. LOVE IT!
ReplyDeleteI'm your newest follower; found you via Kim.
i love the twine knob! and that was the perfect piece for book page top!
ReplyDeleteNow that's a snazzy makeover, the knob is a great touch, I think a few DIY'ers will steal that idea.
ReplyDeleteLove this! The dictionary pages on top and the twine knob bring make it super cute!
ReplyDeleteI totally saw twine knobs just like that on Etsy. Way to go on making them!
ReplyDelete